Add New User Group
Add New User Group
Article Summary
Share feedback
Thanks for sharing your feedback!
Adding a New User Group
- First, make sure you are in Rayven Workspace and have selected your desired solution.
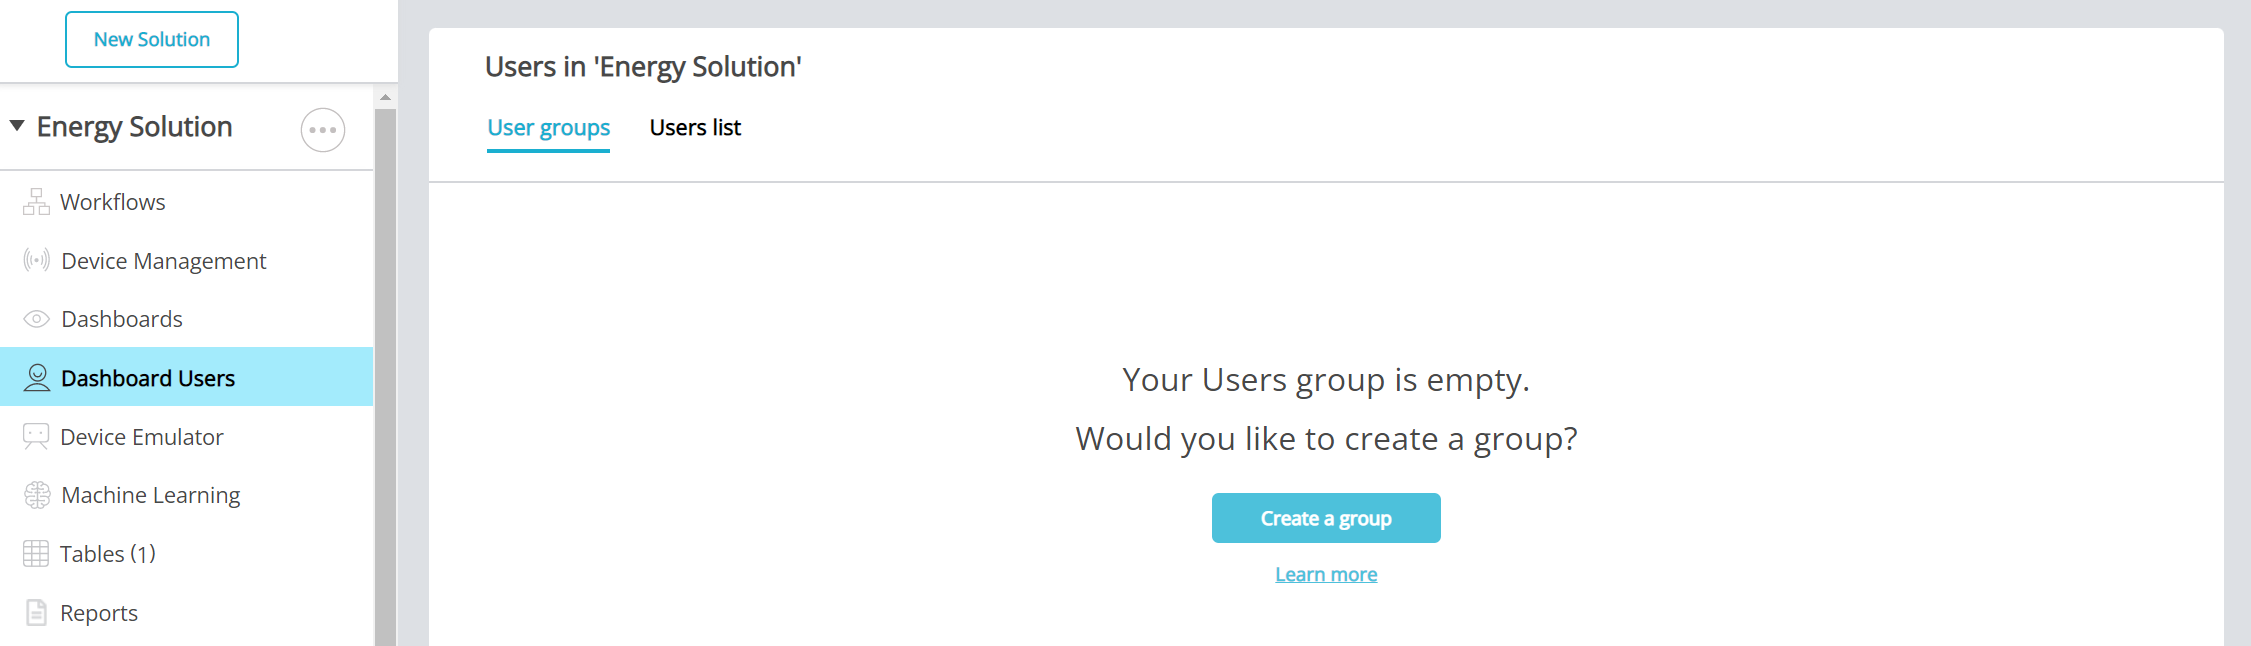
- Navigate to the left-hand panel and select 'Dashboard Users'.
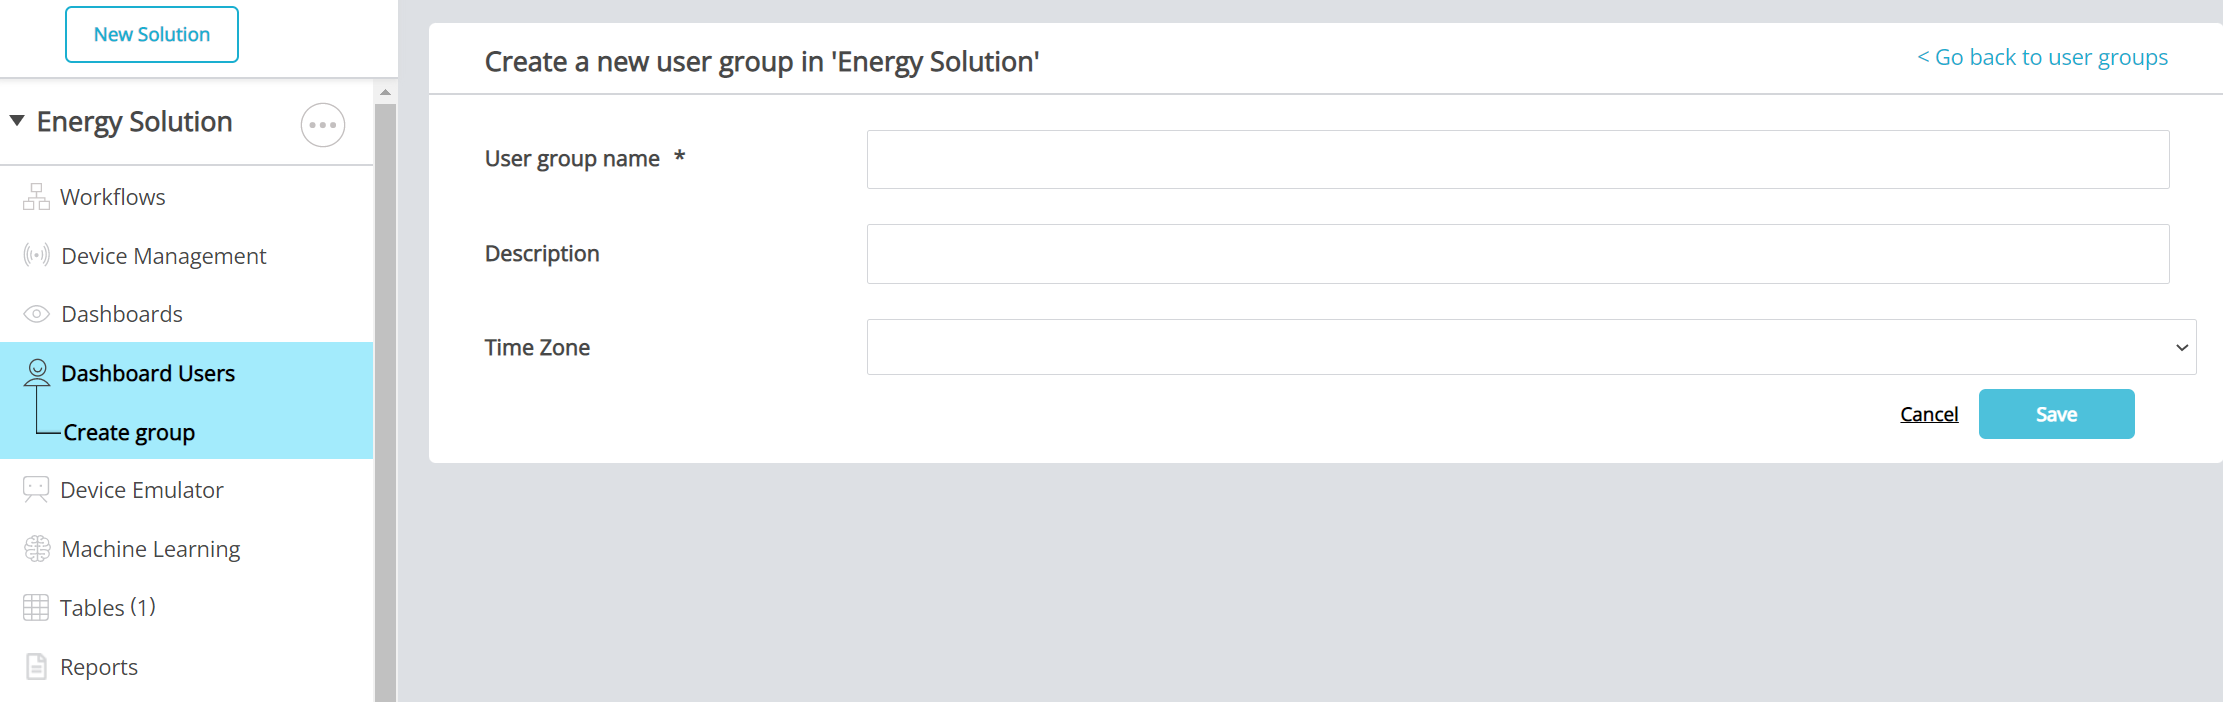
- Click 'Create a group'.
- Enter a User Group Name. If you want, add a Description and Time Zone.
- Now that you have created your group, you must configure the group's Users. These are the individual credentials that give each user access to the front-end solution. To create new user credentials, click 'Add a new user'. You can add as many users as you require for each group.
- Select the dashboards you want this user group to see from the drop-down list. Any dashboards entered here will be visible to all users in this group.
- Select the devices you want this user group to see using device filters. The drop-down menu displays all device filters configured in the solution. You can select as many device filters as you require.
- If you have configured Email or SMS nodes in your solution, they will appear under the Messages menu. Selecting one of these nodes ensures all users in this user group will receive its alerts.


Examples of permissions filtering
Example 1
Selecting the device filter Customer:Rayven ensures any device with this label will appear on the dashboard for this user group.
Example 2
Selecting the device filter Customer:Rayven/Location:Australia ensures only devices labelled as both Customer:Rayven and Location:Australia will appear on the dashboard for this user group.